
Handyfox offers best prices locally for most common handy tasks such as TV mounting Service, installing binds, furniture assembly, washing machine installation, fixing shelves, replacing taps. If you want to find out more about any of these services read more here.
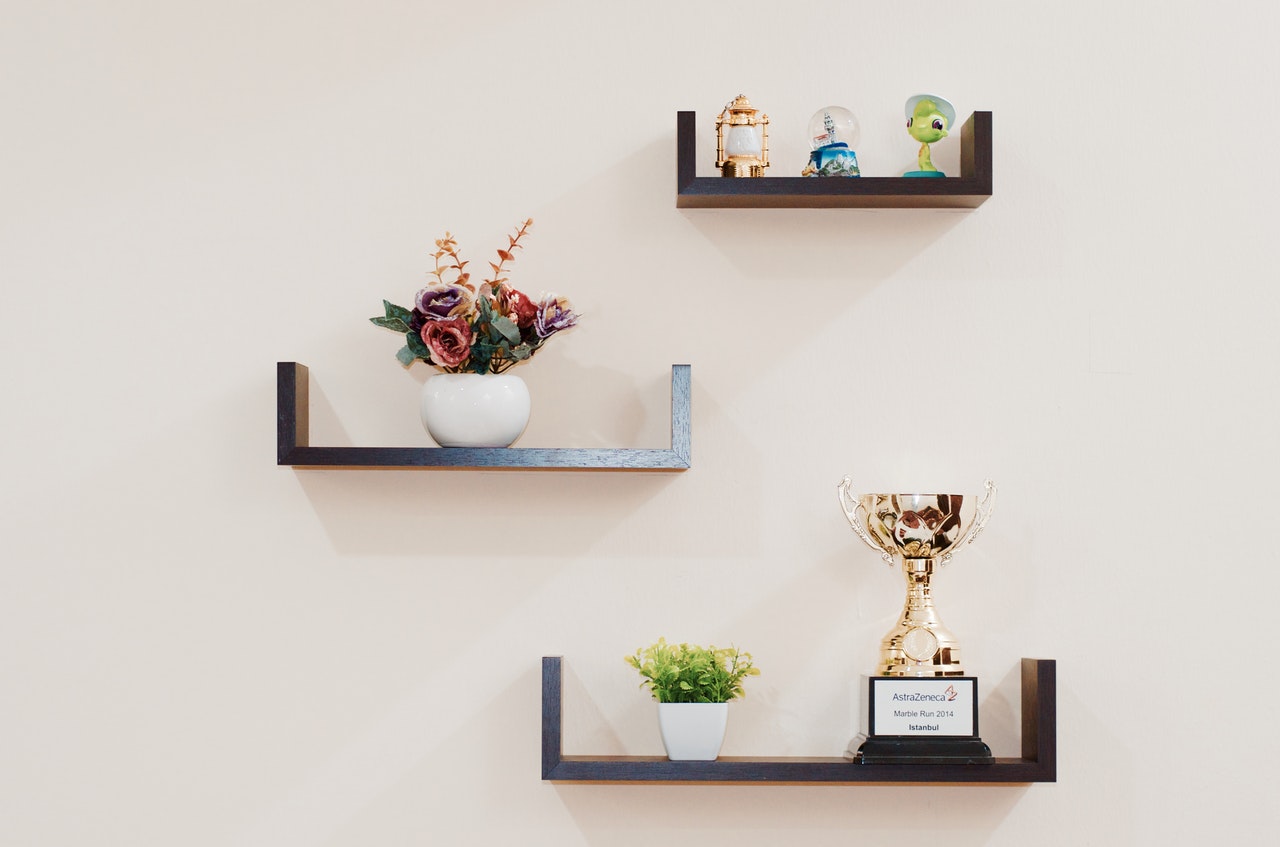
What can we say about shelves that aren’t already obvious; I mean we all love them. They sometimes carry our words for us; other times just make a house look like a home. A shelf is a plank carefully located in strategic areas that carries items and frees up space. They are a form of decorations when installed right and a poor statement when done wrong. How to fix floating shelves is something that doesn’t require a PhD in engineering.
Shelves installations may look relatively easy but there are factor most people never consider when they get their hammers and nails. Like concealed fixing brackets for floating shelves and how to fix floating shelves to plasterboard walls require different hands (Methods and factors) if not, the result of those unconsidered factors could be a crooked shelves which by the way, is just simply the worst; because then you have to remove it and look at your most likely punctured wall and think “Here goes another thing I have to fix or how much is it going to cost me to fix this?”. The worst possible outcome comes from not knowing how the wall was constructed, what was the wall constructed with. Those are big questions and if you have the answer, I suggest you leave the job to a professional.
For my fellow DIY members, I will be giving you steps on how to install or fix wall shelves. For these you will need your shelves, drill, nails, pencil and measuring tape.
STEP 1: Finding the best location and its studs – Most times, the location is chosen based on your preference but there are certain locations that are a “NO NO” or factors that are considered for shelves. Most shelves can’t be close to doors and the stud placement must be considered. A stud is the wooden frame of your walls inner structure and they are important because if you drill on a dry wall instead of your stud, the Integrity of your shelves with fall over time.
STEP 2: Marking your stud locations - Using your pencil, find your first stud and mark it on the wall, ideally most studs are located between a distance of 40.62 cm to 60.96 cm (16 to 24 inches) of each other. It is always best to have 2 or more stud locations, remember shelves hold weights so you want the weight to be evenly distributed. Check for your stud and mark it on the wall.
STEP 3: Decide on your Height – Take the bracket of your shelves and put it on your stud markings, decide on the height you want your shelf while going vertically on the stud mark. When you find a height, use your pencil to mark the nail holes and draw 90° horizontal line to the next stud and take your pencil and bracket to draw the holes on the next stud.
STEP 4: Fixing your shelves – When you are done marking your holes, get your drill and drill a 2 inch hole into the stud for the brackets to fit tightly. Remember the drill hole should always be smaller than the nail. Do it for the other studs then clear the pencil lines and nail your bracket to the wall. When you are done, put your shelves on their bracket and screw the shelves to the brackets.
Well the steps to installing the shelves are easy but carrying it out takes time and patience so if you feel like you don’t have the time, its best you like it to your favorite handyman service. Handyfox will carry out the task so you don’t have to damage your walls. Visit website for call now.
Handyfox is a on demand tasks specialist and offers handyman service in London and surrounding areas. We provide local handymen and skilled trades to carry out repairs, installations and maintenance to homes and businesses. Handyfox is a trading style of MA Assets LTD.
81 Vicarage Lane LONDON E15 4HG
Subcribe to Our Newsletter to get important news amazing offer & discount


Copyright @ All Rights Reserved | Handyfox