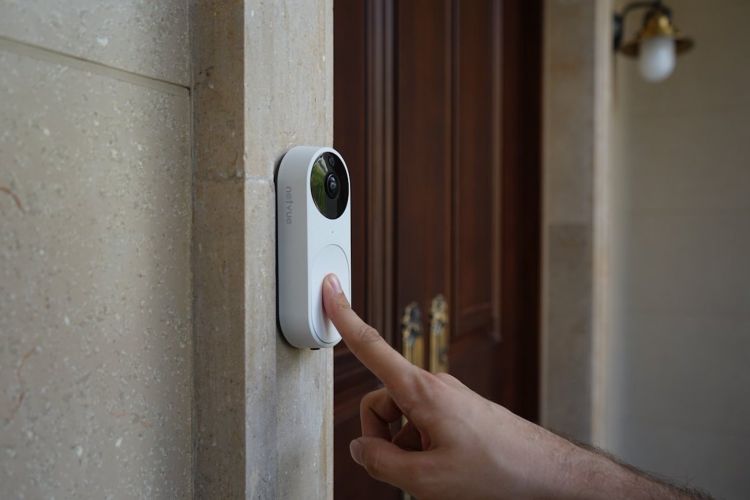
I truly believe your house isn’t really complete without a door bell, ever since the iron knocker, the first door bell installed was the butler door bell installation; door bells and all have been part of every home and the improvement in technology has given birth to different types of more versatile door bells. So depending on preference, if it is the classic wired door bell or the more modern wireless door bell, you have an option for whichever you want and you can ask your local London handyman to help install it.
A door bell is a device used to signal people of a visitor’s presence at the entrance. It is normally located besides the door at the building’s entrance and pressing it, would indicate that someone is at the door. How to install electric door bell and wifi smart door bell installation are not exactly the same, as one involves wires and the other well doesn’t.
Installing two door bells is sometimes excessive for a single occupant but for apartment buildings, it is best you do it. You can even install more than two; one for each occupant.
Wired and wireless door bells both have their advantages and disadvantages like with a wireless door bell you have the possibility of choosing different chime sounds and easy installation but with the wired door bell, you have a long lasting and more reliable doorbell.
These are steps to take when installing a wired doorbell, and they are:
- STEP 1: Turn off power from the fuse box
Make sure you have cut off the power to all the switches and sockets to prevent being electrocuted. You can check if there is power by using any appliance.
- STEP 2: Connect the wires for the doorbell to the chimes and the device to the wall
Before you connect the wires, make sure you label the wires like the ones that go to the doorbell switch and transformer. Take off the back of the chime which should come off easily and connect each wire through the channel to each terminal, after that you will run the chime wire to the terminal for the transformer. After which you will use the screw given to position the device to the wall.
- STEP 3: Choose where you want your doorbell switch and connect the terminals
Using your hand drill, Drill a hole near your entrance where the wire from the switches back will be ran through the wall to the chimes and transformer into the switch. Make sure you attach the wires coming from the transformer’s terminals to both the chime and door bell. The transformer is every important as it converts AC power to power low enough to power the chime.
- STEP 4: Use wire connectors to attach the switch and chime
Using a plastic wire connector to connect the wires for both the chime and the switch together, you will place the cap on both the wires and twist until properly connected. This connection will create the communication between the door bell button and the chime, while the transformer steps the power to small voltage. When you are done, you should switch the power back on to test the door bell.
If you feel all these steps are a little too complicated and you can always count on your Handyfox to send out an experienced London Electrican.. We will make your doorbell as welcoming as our services. Visit website for call now.


